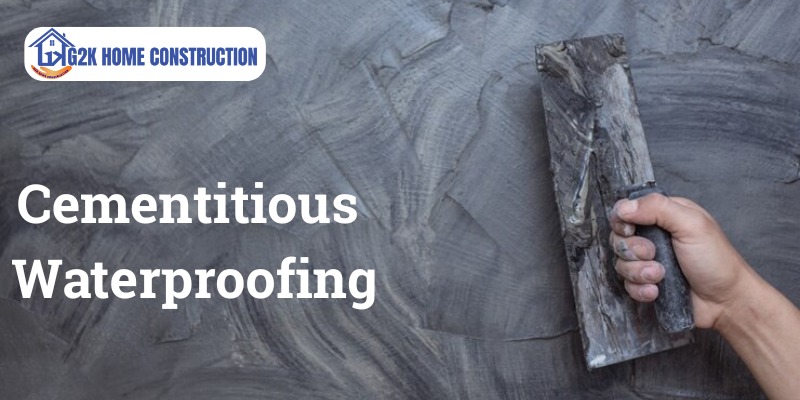
It is made from:
- Cement
- Quartz sand / fillers
- Chemicals
- Polymer additives
2. Types of Cementitious Waterproofing
a) 1-Component (1K) Cementitious
- Comes as powder only
- Mix with water
- Suitable for small repairs and internal wet areas
- Moderate waterproofing and flexibility
b) 2-Component (2K) Cementitious
- Powder (cement mix) + Liquid polymer
- Better bonding + crack-bridging
- Most popular for residential projects
- Ideal for bathrooms, balconies, and roofs under screed
c) Flexible Cementitious
- Higher polymer content
- Can handle micro-cracks and structural movement
- Good for terraces, external walls, and podiums (under protection)
d) Crystalline Cementitious
- Penetrates concrete to form internal crystals
- Blocks capillaries permanently
- Best for basements, water tanks, retaining walls
3. Areas where Cementitious Waterproofing is Used
✔ Kitchens & Utility areas
✔ Balconies (below tiles)
✔ Basement walls & floors
✔ Water tanks (internal)
✔ Swimming pools (under tile)
✔ Lift pits
✔ Sumps & overhead tanks
✔ Retaining walls
✔ Internal wet walls
✔ Roofs (under screed layer)
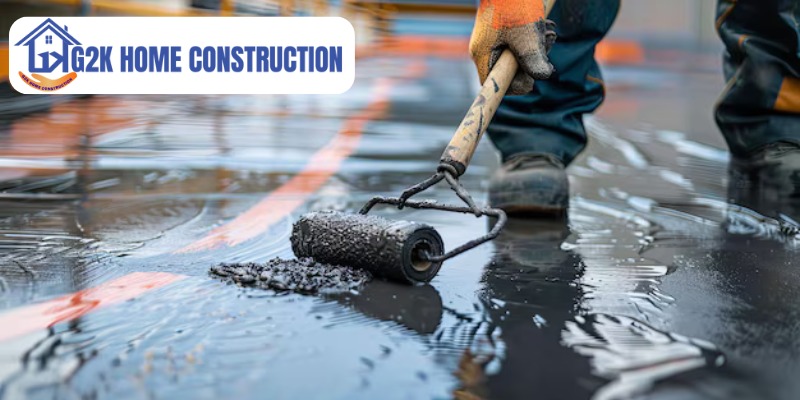
4. Application Method (Stage-by-Stage)
Step 1: Surface Preparation
- Remove dust, loose particles, algae, and paint.
- Clean cracks and fill with polymer-modified mortar
- Make the surface slightly wet (SSD condition)
Step 2: Mixing
- Mix powder with water (1K)
- Mix powder + liquid polymer (2K)
- Use a low-speed drill for a smooth slurry (lump-free)
Step 3: Priming (Optional but Recommended)
- Apply a thin, diluted coat.
- Enhances bonding and reduces absorption
Step 4: Application of Coats
- Apply 1st coat using a brush/roller.
- Allow 4–6 hours of drying.
- Apply 2nd coat perpendicular to the first.
- Recommended thickness: 1–2 mm total
Step 5: Protection Layer
- For floors, apply a screed over the coating.
- For walls: Apply plaster or tile adhesive
- For tanks: Cure for 48 hours before filling
5. Pros
- Easy to mix and apply
- Economical compared to other systems
- Highly bond-friendly with concrete
- Non-toxic (safe for drinking water tanks)
- Good resistance to positive water pressure
- Long lifespan when applied properly
6. Cons
- Limited flexibility (not suitable for structures with expansion movement)
- Cannot resist negative water pressure as well as epoxy systems
- Not UV-resistant → needs protection if exposed.
- Can crack if surface cracks appear underneath
- Requires careful curing
Contact Details – GK Home Construction
If you are planning to build a home and looking for trusted civil construction contractors in Bangalore, you can reach out to GK Home Construction through the following official channel:
Company Name: GK Home Construction
Website: https://gkhomeconstruction.com/
Email : care@gkhomeconstruction.com
Call us at : +91 9538999535
(For enquiries, consultations, and project discussions,Contact now.)
Final Words
Selecting the right construction company plays a major role in the durability, safety, and long-term value of your home. While Bangalore has many experienced builders, working with a structured and transparent team like GK Home Construction can simplify the entire construction process. For homeowners looking for reliable civil construction contractors in Bangalore, choosing a company with clear planning and execution standards can make all the difference.