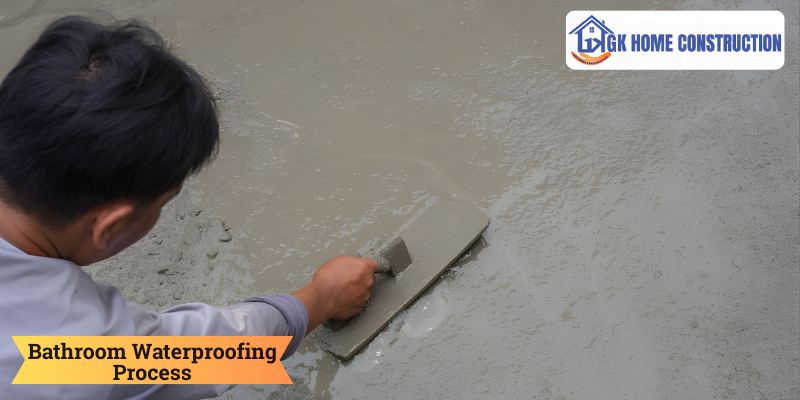
1. Surface Inspection and Cleaning
The waterproofing of the bathroom starts with a careful inspection of the surface for any cracks, honeycombs, loose plaster, or uneven areas. The entire surface is then cleaned of all dust, grease, laitance, oil, and debris using wire brushing, washing, or air blowing. A clean and sound surface is essential to ensure the proper adhesion of the waterproofing system.
2. Repairing Cracks and Surface Preparation
All visible cracks, joints, and damaged areas are repaired using polymer-modified mortar or appropriate repair compounds. Pipe penetrations, drain outlets, and corners are carefully sealed to prevent leaks. Floor slopes are corrected to ensure proper water drainage towards the floor trap, preventing water stagnation, which can lead to leakage issues later.
3. Application of Primer or Bonding Agent
A primer or bonding agent is applied to the prepared surface to ensure better adhesion between the surface and the waterproofing coating. The primer seeps into the pores of the concrete or plaster and helps to reduce the porosity of the surface, thus increasing the bonding strength of the waterproofing layer.
4. Waterproofing Treatment at Joints and Corners
Particular care is taken at critical areas such as wall-floor joints, corners, pipe sleeves, and drain outlets. Reinforcement fabric, fiberglass mesh, or polyester tape is embedded in the first coat of waterproofing material at these points. This is done to allow for slight movements in the structure and to prevent the formation of cracks in areas of high stress.
5. First Coat of Waterproofing Membrane
The first layer of waterproofing material, whether cementitious, polymer-modified, or liquid membrane, is uniformly applied using a brush, roller, or trowel. The layer is extended up the wall to a minimum height (usually 300 mm to 450 mm) to protect against splash water and seepage. The thickness is maintained as per the manufacturer's specifications.
6. Application of Second Coat
Once the first coat has partially cured, a second coat is applied at right angles to the first coat to achieve complete coverage and prevent pinholes. The cross-application technique enhances the integrity of the membrane and the effectiveness of waterproofing. Sufficient curing time is allowed between coats.
7. Curing and Drying
After the waterproofing layers have been applied, the surface is left to cure. In cement-based waterproofing systems, light water curing may be necessary, while liquid membranes require air curing. Proper curing is essential to ensure that the waterproofing system has maximum strength, elasticity, and durability.
8. Pond Test (Water Leakage Test)
After the curing process, a pond test is carried out by filling the bathroom floor with water and keeping it for a period of 24 to 72 hours. The region below the bathroom floor is checked for water leakage. This test ensures that the waterproofing system is effective before moving on to the finishing process.
9. Protective Layer and Screed Application
After the waterproofing is accepted, a protective screed or layer of mortar is applied over the membrane to protect it from mechanical damage. A proper slope is maintained during the application of the screed to facilitate drainage.
10. Tiling and Final Finishing
Lastly, tiles are laid using an appropriate tile adhesive, and joints are filled using waterproof or epoxy grout. Silicone sealant is applied around sanitary fittings and corners to prevent water entry. This marks the end of the waterproofing process of the bathroom, and a leak-free, long-lasting bathroom structure is achieved.