Roof Leak After Rain: Complete Waterproofing Guide
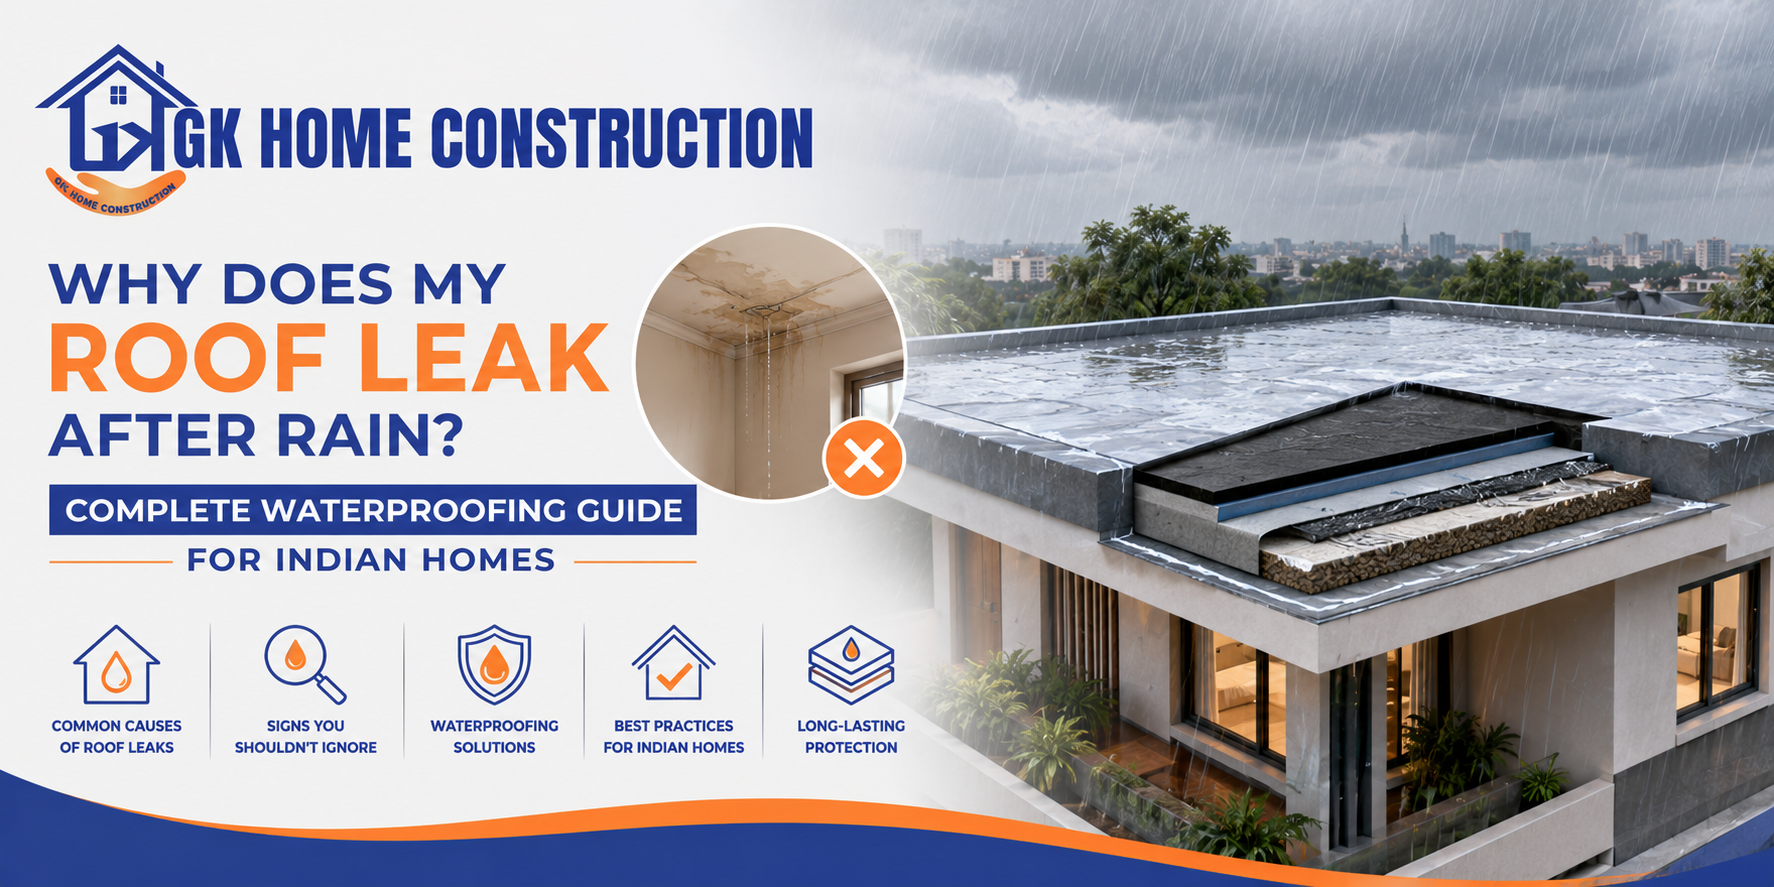
A roof leak after rain is more than an inconvenience. Water entering through a terrace or roof slab can gradually damage ceilings, walls, electrical fittings, paint, and even parts of the building structure. If leakage repeatedly appears after every rainfall, simply repainting the affected area will not solve the underlying problem. Identify the source of water entry, and have the roof waterproofing system repaired correctly.
This complete roof waterproofing guide explains the common causes of roof leaks, warning signs, suitable waterproofing solutions, and preventive measures for homeowners.
Why Does the Roof Leak After Rain?
Roof leakage can occur for several reasons. One of the most common is cracked or damaged waterproofing. Over time, exposure to sunlight, temperature changes, standing water, and heavy rainfall can cause waterproofing layers to deteriorate.
Other common causes include:
- Cracks in the RCC roof slab
- Poor terrace slope and water stagnation
- Damaged waterproofing membrane or coating
- Blocked rainwater outlets
- Improper pipe or drain detailing
- Cracks around parapet walls
- Leakage around plumbing penetrations
- Deteriorated joints between different materials
- Poor-quality previous waterproofing work
Signs of Roof Leakage You Should Not Ignore
Early detection can prevent expensive repairs. Watch for:
- Water stains on ceilings after rain
- Damp patches on walls
- Peeling paint or bubbling plaster
- Mould or fungal growth
- Cracks with moisture marks
- Water dripping from the ceiling.
- Persistent dampness even after the rain stops
- Efflorescence or white salt deposits
How to Find the Source of a Roof Leak
Professional roof waterproofing begins with a detailed inspection. Inspect the terrace for visible cracks, damaged coatings, ponding water, blocked outlets, and weak areas around pipes and parapet walls.
To identify leakage pathways, a controlled water test is used. For larger or more complex leaks, moisture inspection and systematic testing can help identify the affected area.
The objective is not simply to locate the ceiling stain but to identify where and how water is entering the building.
Best Waterproofing Solutions for Roof Leaks
The right solution depends on the roof condition, leakage severity, existing waterproofing system, and project requirements.
1. Cementitious Waterproofing
For certain concrete surfaces and repair applications, cement-based waterproofing can be suitable. A waterproofing barrier forms when properly mixed and applied according to the manufacturer’s specifications.
2. Liquid Waterproofing Coating
Liquid-applied waterproofing creates a continuous protective layer with minimal joints. It can be useful for terraces with suitable surface preparation and detailing.
3. Polyurethane Waterproofing
Polyurethane systems provide flexible waterproofing and can accommodate minor movement and cracking when correctly specified. They are often considered for demanding terrace and roof applications.
4. Bituminous Membrane Waterproofing
Bituminous membranes are commonly used for roofs and terraces where a robust membrane-based waterproofing system is required. Proper overlapping, edge detailing, and protection are critical to long-term performance.
5. Crack and Joint Treatment
Not every leak requires complete waterproofing replacement. Localized cracks, construction joints, pipe penetrations, and parapet junctions may require specialized repair and sealing.
Roof Waterproofing Process
A professional waterproofing process generally includes:
Inspection → Leak-source identification → Surface preparation → Crack and joint repair → Slope and drainage correction → Primer/application → Waterproofing treatment → Protective layer where required → Final inspection → Water testing
Surface preparation is particularly important. Loose concrete, dust, old coatings, algae, and weak material should be removed before applying a waterproofing system.
Why Terrace Drainage Matters
Even a high-quality waterproofing system can experience problems when water remains stagnant on the terrace. Proper slope toward rainwater outlets helps rainwater leave the roof quickly.
Check that outlets are correctly positioned, free of debris, and capable of handling heavy rainfall. Areas around outlets and pipe penetrations receive special attention during waterproofing.
How to Prevent Future Roof Leakage
Regular maintenance can significantly reduce the risk of recurring leaks. Inspect the terrace before and after the rainy season. Keep drainage outlets clean, repair visible cracks early, and avoid drilling or waterproofing surfaces unnecessarily.
Do not cover damp ceilings with fresh paint before resolving the source of moisture. Otherwise, the problem may return and become more difficult to diagnose.
Conclusion
A roof leak after rain should never be treated as just a paint or plaster problem. Repeated leakage usually indicates an issue with waterproofing, drainage, cracks, joints, or roof detailing.
The most effective approach is to identify the source, repair the underlying defect, select the appropriate waterproofing system, and verify the treatment through proper inspection and water testing.
For homeowners in Bangalore, where seasonal heavy rainfall can expose weaknesses in terrace waterproofing, timely inspection and preventive maintenance can help protect the roof, interiors, and long-term durability.